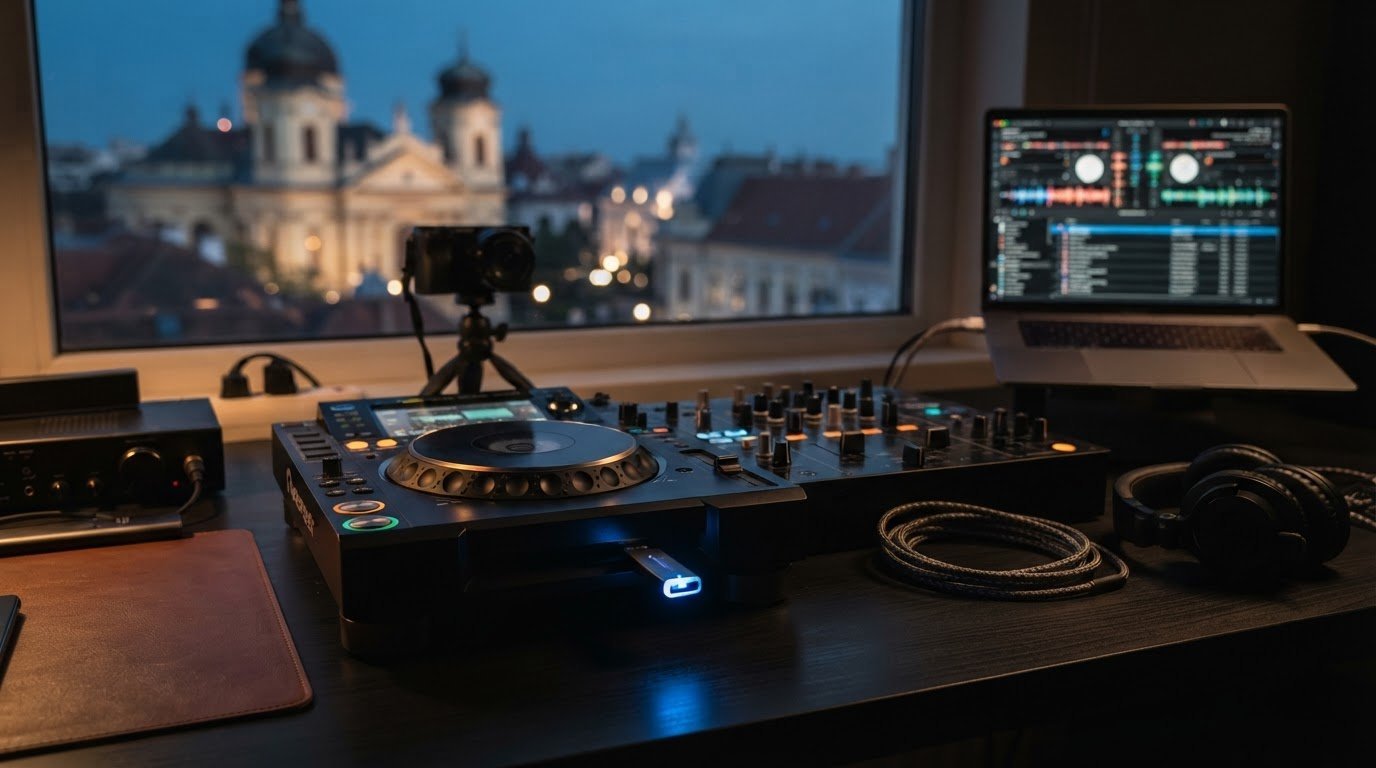

A set can lose momentum before the first track if your USB isn’t ready. Learn how to prepare a USB for Pioneer XDJs, then test it before performance day.
This guide covers the key steps, from organizing your library to checking playback. Make USB preparation part of your practice routine so you can focus on the mix when it’s time to play.
Key Takeaways
- Choose at least 32 GB of storage; consider 64 GB or 128 GB for a larger music library, and prioritize a USB 3.0 or 3.1 drive.
- Pick FAT32 or exFAT with your XDJ model in mind. FAT32 has a 4 GB file-size limit, while exFAT supports larger files.
- Prepare your playlists and tracks in Rekordbox, then use the export workflow that suits your USB setup.
- Check your player’s supported audio formats before loading music, and keep your files organized for quick browsing during a set.
- Use studio time to practise with your prepared USB and capture a session with audio or 4K video recording.
Choosing USB storage capacity, speed, and durability
The basic preparation is similar across Pioneer XDJ players, but supported file systems and media limits vary by model. Match your drive and export settings to the specific XDJ you’ll use.
Organize tracks into clear playlists, such as warm-up, peak-time, and closing selections. Use Rekordbox playlists for set order, then keep folder names and track titles easy to scan.
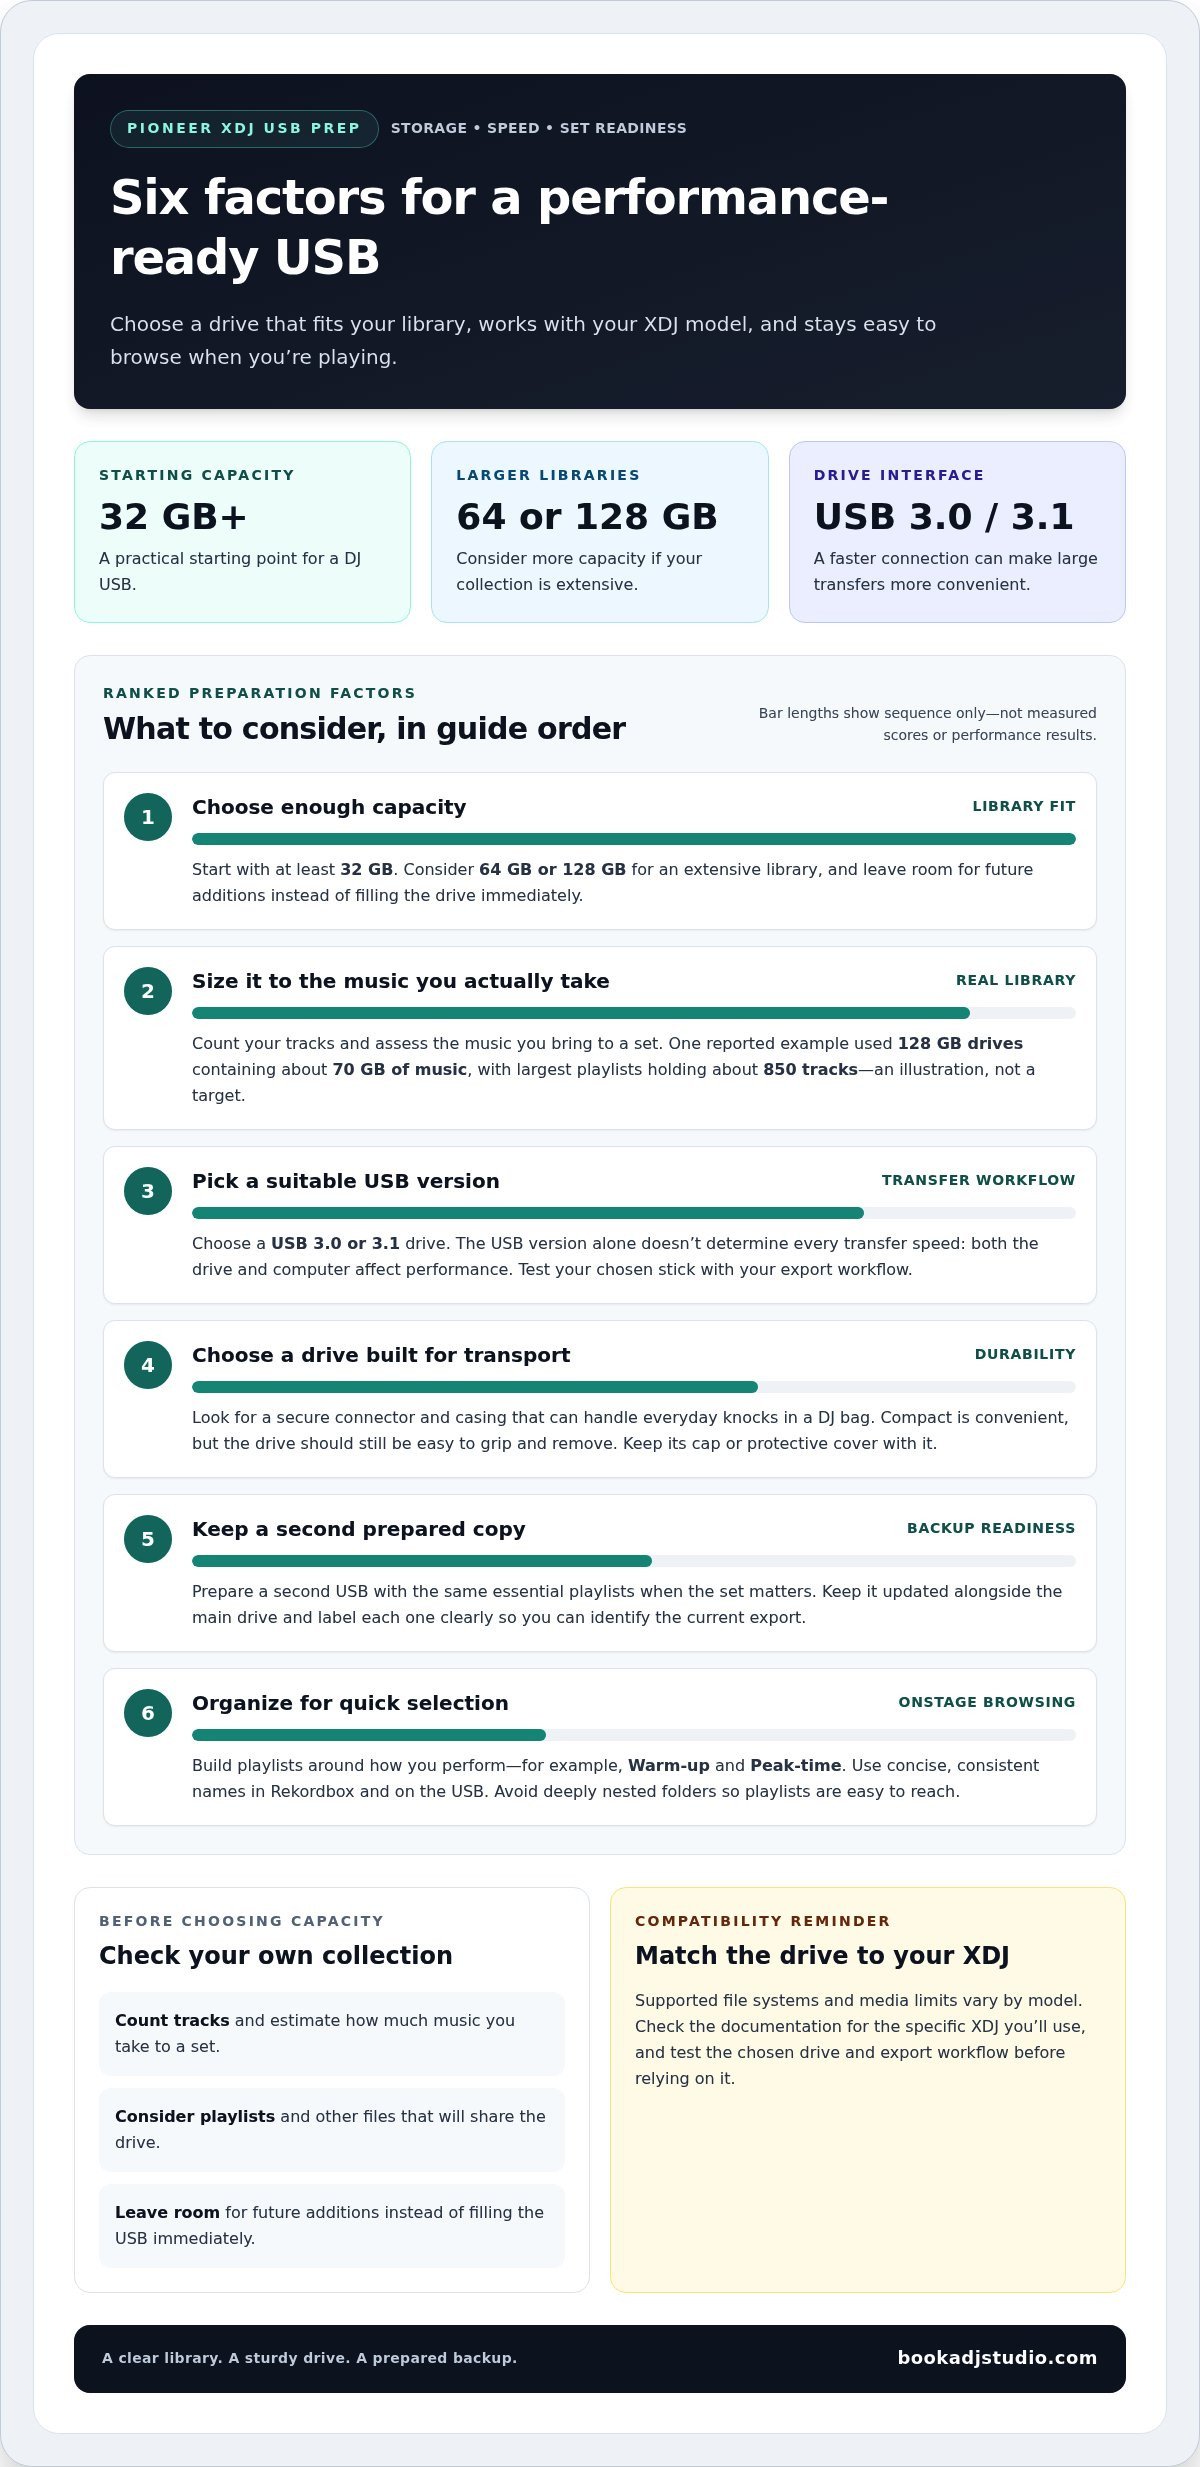
- Choose at least 32 GB of storage for a practical starting point. If your library is extensive, consider 64 GB or 128 GB. Capacity depends on your tracks, playlists, and other files, so estimate your library before preparing the drive. Leave room for future additions rather than filling the USB immediately.
- Use your own library as the deciding measure. One reported example used 128 GB drives containing about 70 GB of music, with largest playlists holding about 850 tracks. Treat those figures as a real-world illustration, not a required target. Count your tracks and assess how much music you actually take to a set.
- Pick a USB 3.0 or 3.1 drive for XDJ use. A faster connection can make transferring a large library more convenient, especially during preparation. The USB version alone doesn’t determine every transfer speed; the drive and computer both affect performance. Test your chosen stick with your export workflow before relying on it.
- Choose a sturdy drive that can handle repeated transport. Look for a secure connector and a casing that can withstand everyday knocks in your DJ bag. A compact stick is convenient, but avoid designs that are hard to grip or remove. Keep its cap or protective cover with it.
- Prepare a second USB with the same essential playlists when your set matters. Keep it updated alongside your main drive, rather than treating it as an unrelated music collection. A duplicate gives you another prepared copy if the first drive becomes unavailable. Label each USB clearly so you can identify the current export quickly.
- Build playlists around the way you perform, not just broad genres. For example, make separate warm-up and peak-time playlists, then arrange tracks for quick selection. Use concise, consistent names in Rekordbox and on your USB. Avoid deeply nested folders: direct playlist access makes browsing simpler onstage.
Formatting USB drives as FAT32 or exFAT
Choose a file system supported by your specific XDJ model, then format and test the drive before your set. Safely eject it through your computer’s operating system, reconnect it to the player, and confirm that your playlists and tracks appear.
-
Choose a supported file system
Check your XDJ model’s documentation for supported file systems before formatting. FAT32 has a 4 GB file-size limit, so a single file cannot exceed that size. exFAT supports larger files and works with Windows and macOS. Choose based on model compatibility and your files, not just convenience. If your library includes larger files, FAT32’s limit matters; if your player supports exFAT, that format may suit those files better.
-
Format the USB drive
Back up your music before formatting, because formatting erases existing data. In your computer’s disk utility, select the correct USB drive and a supported file system. For the first preparation, use a full format rather than a quick format. Double-check the selected drive, especially if other storage devices are connected. Once formatting is complete, copy a small test selection before transferring your full library.
- If your XDJ doesn’t recognize the drive, troubleshoot step by step. Eject and reconnect it firmly. If it still doesn’t appear, connect it to your computer and check that the drive mounts and its files open. Compare its file system with the player’s supported options. If needed, back up your music, reformat the drive using a supported system, and export the tracks again. Secure any files you want to keep before reformatting.
- Verify the export on the player before relying on the USB. Use your computer’s eject command and wait for confirmation that it’s safe to remove the drive. Insert it into the XDJ, browse to a playlist, and load a test track. Check that it appears and plays. If an error occurs, eject and reinsert the drive. This may restore playback temporarily, but you should still check the format and export.
- Keep the final test focused. Confirm the drive opens, playlist names display as expected, and representative tracks load. If you’re rehearsing your set, a DJ studio practice session gives you a chance to run the prepared USB on performance equipment before your next set. Save a clean copy of your music library separately, so a later format won’t erase your only source files.
USB preparation matters because 75% of professional DJs rely on USB drives for performances. Treat the formatted drive as a dedicated performance copy: keep its contents focused on the set you intend to play, and avoid making last-minute changes after you have checked it. A separate backup helps preserve your music library without turning the tested drive into the only copy.
When you revise playlists or replace tracks, make the changes on your computer first. Copy the updated material to the drive, then check it again on the player. Keep the verified version unchanged until the set is over. This separates your performance-ready drive from a work-in-progress copy and gives you a repeatable preparation routine.
How do you export playlists and tracks to a USB drive using Rekordbox?
Use Rekordbox’s Export workflow to prepare playlists and tracks for your USB. Exporting is a key step in how to prepare a USB for Pioneer XDJs. Organize your set first, then confirm the exported files on your XDJ.
- Open Rekordbox on your computer and switch to Export mode. Connect the prepared USB directly to a computer port or use a reliable adapter. Wait for the drive to appear in Rekordbox’s device area. If it doesn’t, check that your computer recognizes the USB before continuing.
- Review your Rekordbox Collection before exporting. Confirm that each track is in the right playlist and that playlist names are easy to recognize. For example, separate “Warm-up” selections from “Peak-time” tracks. Consistent names make it easier to find the right set on an XDJ screen.
- Check each track you plan to export in Rekordbox. Play part of the file and confirm it opens correctly. Look for missing files or warning symbols in the Collection, and resolve them before copying. A playlist may look complete even if a track’s source file has moved.
- Find the USB in Rekordbox’s device area and expand it to view its contents. Select a playlist and use the export controls to transfer it. If your Rekordbox version allows it, you can also drag the playlist onto the device. Keep the USB connected while Rekordbox processes the selection.
- Export the playlists you need for your next set. A focused selection is easier to browse than your entire Collection. If you’ve arranged a warm-up sequence, export that playlist and confirm its order in the device view. Repeat for any other set playlists you plan to use.
- Wait for Rekordbox to finish transferring the tracks before disconnecting the USB. Check the transfer status for errors. If a track fails, review its file location in your Collection and try the export again. Disconnecting during an active transfer can leave files incomplete.
- After the transfer ends, eject the USB through Rekordbox or your computer’s operating system. Connect it to your Pioneer XDJ and browse each exported playlist. Load a representative track from every set folder. Check playlist names, track listings, and playback before relying on the drive for a performance.
- Update the USB whenever you revise a Rekordbox playlist. Make the change in your Collection, export the updated playlist, then check the device view for the new version. This comparison helps catch stale track order or missing additions. For how to prepare a USB for Pioneer XDJs, keep your Rekordbox library as the working source for future edits.
Can Pioneer XDJ players play music from a USB drive without Rekordbox export?
Some XDJ models allow direct access to compatible audio files, but that’s different from Rekordbox library browsing. Before copying files directly, check the specific model’s supported file systems, formats, and browsing options.
- Identify your XDJ model before copying tracks. Consult its manual to confirm whether it can browse files copied directly to a USB, and which file systems and audio formats it supports. Compatibility determines the right workflow. Don’t assume instructions for one XDJ apply to another, even if both use USB media.
- Distinguish direct file access from Rekordbox export. Direct copying puts audio files on the drive, while Rekordbox export prepares playlists and library information for compatible browsing features. A directly copied file may be accessible without appearing in an exported playlist. Choose based on whether simple track access or organized set navigation matters more.
- To test direct file access, create a clearly named folder on the USB and add a small selection of compatible tracks, such as a few warm-up choices. Keep filenames readable and avoid complicated folder nesting. A focused test makes it easier to see whether the player can browse and load the files.
- Connect the test drive to your XDJ and browse its folders or media views. Find and open the folder, then select a track. If the file appears, load it and confirm playback. If it doesn’t, check the model’s supported file system and audio formats before changing the USB or copying more music.
- Use Rekordbox export for prepared playlists and related library browsing. Create a small test playlist in Rekordbox and export it to the USB, then compare the result with direct file access. This helps you see which workflow suits your XDJ and set preparation.
- Keep your original music files on your computer while testing either method. A USB transfer copies files, but formatting or reorganizing the drive can remove them. Preserve the source folder before trying a different file system, then prepare the drive again using the workflow that matches your model.
- Choose a method that fits your performance needs. Direct copying may suit a simple folder-based selection if your XDJ supports it. Rekordbox export is the structured option for playlists and library browsing. Test your intended workflow on the actual player before performing, and confirm that the tracks you need appear as expected.
Which audio file formats and bitrates are supported by Pioneer XDJ models?
- Check the manual for your exact Pioneer XDJ model before selecting audio files. MP3, AAC, WAV, and AIFF are common supported formats across CDJ players, but support can differ between models. Confirm the listed formats for your own unit, especially when preparing files from different sources. A format that works on one player may not suit another.
- Sort your library by file type before copying it to the USB. For example, group MP3 tracks separately from WAV and AIFF files in your computer’s library. This makes it easier to spot unsupported or unexpected files before export. Keep the original files intact while creating a performance-ready selection.
- Check bitrate as well as format. One reported USB library contained tracks encoded at 320 kbps, but that example doesn’t establish a universal requirement or maximum for every XDJ. Use the model’s documentation to confirm supported encoding details. Don’t convert an entire collection just because one track uses a different bitrate.
- Test representative tracks on the actual player. Select one MP3, one AAC, one WAV, and one AIFF file if your library uses those formats. Load each file from the USB and confirm playback. This quick test can reveal compatibility issues before you build a full set around those files.
- If a file won’t load, check the file itself before assuming the USB is faulty. Confirm that its extension matches the actual audio format, then check the model’s supported formats and encoding details. If the track remains incompatible, prepare a supported version from your original source and test it. Keep the original until the replacement plays correctly.
- Make your final export after checking the audio files you plan to play. In Rekordbox, review the playlist and test its tracks on the XDJ, rather than relying only on filenames. If you’re recording a practice set, book audio recording to capture your performance and listen back to the transitions.
Book a DJ Studio: Hourly Studio Access
At Book a DJ Studio in Timișoara, you can test your prepared USB and practise your set in a dedicated studio. Book Hourly Studio Access for a focused rehearsal, or choose Session Packages to refine your workflow over multiple visits. Run your playlists and practise transitions using your tracks in the festival-style booth.
Want to review your performance afterward? Add Audio Recording or 4K Video Recording to capture your session and assess your mix. This is a practical next step when your USB is ready and you want to sharpen your delivery before performing for an audience.
Visit Book a DJ Studio to explore your studio session options.
Make Your Next Set Count
Your USB is part of your performance workflow, not just a place to store tracks. Treat preparation as your first rehearsal: build a set with intention, practise moving through it, and leave room for spontaneity. Knowing how to prepare a USB for Pioneer XDJs gives you a stronger starting point, while confidence grows through practice.
Give yourself space to focus on the mix, transitions, and presence behind the decks. A dedicated studio session can help turn a carefully prepared playlist into a performance you’re ready to share. Keep refining your sound, trust the work you’ve put in, and let every rehearsal move your craft forward.
Contact Book a DJ Studio to plan your next step. Your next set starts with showing up ready to play.